Genovese Basil
Key Facts
- A stronger flavour, a bit like a combination of aniseed and cloves.
- This is very much the basil preferred by chefs.
- Ideal for Italian, French or Greek recipes.
- Easy to grow.
- Takes about 2 to 3 months to grow
- Full details on Amazon
Genovese basil is originally from the Indian subcontinent but very much linked to Italy.

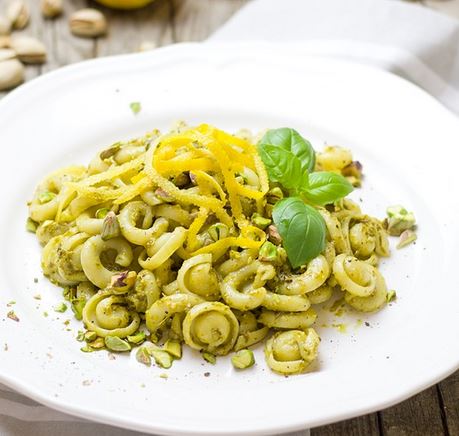
Typical recipes
Sweet or Genovese basil is the ideal herb to grow if you like cooking Mediterranean or European Dishes.
For example Italian, French or Greek recipes.
Example recipes:

Sweet Basil v Genovese Basil
If you buy basil in a shop then you will most likely get either sweet or Genovese basil. (very often called the same)
However, even these 2 European varieties are different.
- Sweet basil – has a flavor tasting a bit like a blend of licorice and cloves with a hint of mint.
- Genovese basil – is a stronger flavour preferred by chefs – a bit like a combination of aniseed and cloves.
The best way to make sure you get the right type of basil for your recipes is to grow your own basil at home.
So if your recipes require a subtle flavour grow sweet basil at home. On the other hand if you prefer a stronger flavour (ideal for either Italian or dishes containing tomatoes) grow Genovese basil at home.
How to grow Genovese Basil
It is ideally suited for planting outside in a pot on a balcony or terrace or inside on a sunny windowsill (or using lighting)
It loves warm very sunny conditions and hates cold draughts.
You can either grow it using hydroponics (or aquaponics) or simply grow the basil in soil – as described below.
From seed to harvest will take about 40 to 70 (2 to 3 months)
But only about 10 minutes of your time to sow it and watch it grow.
Step 1
The first step is to get the Genovese basil seeds. You can order them online or some garden centres will sell them.
Not often mentioned but if you simply add the seeds into a bowl of water for 30 minutes to 1 hour they will start quicker then simply putting them in soil.
Step 2
The next stage is to put the seeds in the soil.
A very simple way is to fill a plant pot (or a few) with soil, then add the seeds and sprinkle a bit of soil on top.
A much more effective way is to use a seed tray with a lid.
The advantage of using a lid is that it will retain the moisture helping your plants grow. Simply put a bit of soil in the tray, spoon in the seeds and cover with a bit of soil.
Step 3
Then simply put the pot or tray somewhere safe and leave the sprout.
However a much, much quicker way is to use a heat mat.
All you do is put the tray on the mat and the extra heat will significantly speed up how fast your seeds will grow.
Step 4
The seeds will germinate in 12 to 40 days. When they’ve grown thin the seedlings or transplant leaving 38 cm between plants, Then simple put them somewhere warm and sunny and wait for them to grow.
One option (depending on the time of year or where you live) is to use an indoor grow light.
Growing Basil using Hydroponics or Aquaponics
Basil is one of the most popular herbs to grow using hydroponics – as it will be ready to be harvested quicker than planted in soil.
But in addition it is ideal for aquaponics – especially because it loves nitrogen. In addition, whether using hydroponics or aquaponics you will be able to grow it all year around – providing you with fresh herhs when you want it.
The classic large-leaved Italian sweet basil prized for its spicy flavour and wonderful aroma.
More information
The type of basil you use will differ depending on the flavour you need, as well as recipe requirements.
There is more info at the example basil recipes page

Absolute wonderful flavour, and the difference fresh basil makes to your recipes is astounding. Also great to grow using hydroponics or aquaponics
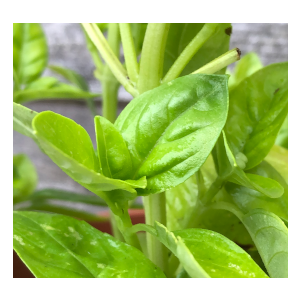
The plant in the picture looks like Greek Basil – not like sweet basil.
Thank you, you are quite right.
Have replaced the picture with the Genovese basil currently growing in my garden